
HOW TO APPLY FOR A VISIT or A TOURIST VISA TO DENMARK
Table of Contents
What comes to mind when you think of Denmark? Probably bicycles, The Little Mermaid, LEGO bricks, Viking lore, great beer, and sleepy picturesque villages. However, there is much, much more to this progressive Scandinavian country than meets the eye.

Though tiny in size, Denmark is big on culture, cooking and coastline. Attractions such as Tivoli, the Little Mermaid, and Legoland have fascinated visitors for years. Today, Danish design, architecture, and the New Nordic Cuisine put Denmark on the world map.

An Overview of Schengen Visa for Short-term Stay in Denmark
Denmark is a part of the Schengen area i.e. a group of countries which carry out no checks at their common borders and which have brought their efforts to fulfill the right of free movement of persons to a successful end.
More information about the Schengen area can be found here.
In order to enter Denmark as a Philippine passport holder (and any other countries in the Schengen zone), you must obtain a Schengen Visa first. You can get a tourist visa (if touring the country is your primary purpose) or a visit visa (if your main objective is to visit a family, friend, or significant other).
With a Schengen Visa, you may come and stay to Denmark for up to 90 days total starting from the date of entry to the date of exit. This 90-day stay may start and end anytime within the dates stipulated in the visa validity period (180 days).
Denmark Visa Conditions for Philippine Citizens
If you are a Philippine passport holder and you are planning to apply for a Danish Schengen visa, you must fulfill these conditions:
- Denmark is your main destination. It means that you will visit Denmark only and have no plans of visiting any other neighboring Schengen country (sa Denmark ka lang pupunta at mag-stay); or
- You will stay the longest in Denmark. You have plans of visiting other Schengen countries, but Denmark is where you will be staying the longest. (Pupunta ka pa sa ibang Schengen countries, pero sa Denmark ang pinaka-mahabang stay mo).
Example: You will stay in Denmark for 14 days to visit a family member or a relative. After that, you will go to Belgium, France, and Germany for a 2-week side trip, before returning to the Philippines.
- The main purpose of your travel is in Denmark. You have plans of visiting other Schengen countries, but the focus of your travel is in Denmark.
- Denmark is your port of entry. You have plans of visiting multiple Schengen countries for the same number of days, pero Denmark ang iyong first point of entry.
Important Documents to Prepare
From what I’ve noticed, Schengen Visa requirements are almost similar, but with only a few tweaks or changes; so, you must ensure that you follow and provide everything that the Denmark Embassy requires.
Now, depending on your circumstance, click the symbol ‘▼‘ below to view the corresponding requirements for each section. Take note that I have listed the requirements in order — meaning that the Embassy requires you to arrange these documents in such order upon submission (so take note of the order/numbering below).
Of course, always make sure that you have authentic, original, and complete documents at all times.
1. Visa for Tourism Checklist. Download the checklist form here. Make sure that it is duly filled out and checked (as per the documents that you will be submitting that is applicable to you).
2. A duly filled out Schengen Visa Application Form for Denmark. Register and fill out the application form here. Make sure that it is duly filled out. Pay the fee, print it, and sign.
3. Two current biometrical passport photos (35-45 mm width)– have your passport photo taken. The embassy is very strict on their photo specifications. Fortunately, they have a page on their official website dedicated to explaining this. Bring at least two copies or more, just in case. One photo should be glued to the application form. The second photo will be returned to you.
- Taken with nothing covering the face, without sunglasses or contact lenses, or a head covering unless worn for religious or medical reasons.
- The subject should have their mouth closed (no grinning, frowning or raised eyebrows).
After which, paste your photo on each of the electronic visa form that you completed online (1 original and 1 photocopy of the form).
4. Original Passport and a Photocopy of it as well as the Bio Page– The embassy requires that your passport is valid for at least another three months on the date the visa application is submitted. It also must have two empty pages for them to stamp your passport. If you have renewed your passport, bring your old one/s with you. These are needed especially if you have previous overseas trips.
Travel Insurance – the coverage must be applied during the entire duration of the trip and must be valid for all Schengen countries. Coverage sum must be AT LEAST EUR 30,000 (Php 2.5 million or USD 50,000). I highly recommend Pioneer Insurance which you can avail yourself through me. Feel free to directly inquire through JASTravel on Facebook and I would be very glad to assist you.
5. A copy of your roundtrip flight reservation. Do NOT buy flight tickets before the visa is issued because the Switzerland Embassy would NOT take any responsibility for the costs you’ll incur if your visa gets denied. We can assist you with a dummy ticket for your flight reservation requirement; get it here!
6. Proof of Accomodation, copy(ies). These are confirmed hotel reservation(s) only for the entire duration of your stay in the Schengen countries containing the name and contact details of the hotel(s) as well as the reservation number.
7. Day-to-day Itinerary – At this part, it’s good practice to include a cover letter along with this itinerary document so that you can properly explain the purpose of your trip. We can help you plan your trip by availing our itinerary service.
8. Proof of financial capacity to show that you (or your sponsor) can support your expenses for the whole duration of your travel.
For those traveling without a sponsor: this means that you will cover all your expenses during the entire duration of your travel.
- Bank statements – must show records of the past six months. A bank statement shows your transactions in your account at a specific period. It will show debits (withdrawals, payments, taxes, service fees) and credits (deposits, interest earned.) Bank Statements can also be seen online especially if you have a registered account. There is no signature for the manager or a bank officer.
- Bank Certificate – it is a confirmation by the branch manager or a bank officer that you have an existing account in their bank. It shows the account number, the type, and other details such as the opening date of your account, your account balance as of the date of request, and your average daily balance.
- Other proof of income (supporting documents) – although it is not really required, you can submit invoices and pay slip equivalent to prove that you earn enough to support this trip financially.
9. Evidence of your rootedness in the Philippines – Evidence of deep-rootedness a.k.a. strong family and social ties to your home country, is one of the most critical requirements when applying for a Schengen Visa. It is what the Consul will look for in your visa application. So how do you prove that you are firmly established in the Philippines and that you will go back to your home country?
You need to convince them that you will return to the Philippines. Insufficient evidence of deep-rootedness to your home country is also one of the chief reasons for visa denial.
- For Employees:
- Employment or Work contract and bank account statements or payslips showing the transfer of your last six-monthly salaries
- Certificate of Employment which should include the employer’s full name, complete address, telephone number with area code, details regarding the position, income, and employment duration
- Approved letter of approved leave signed by your employer (Leave of Absence letter)
- Optional: Signed No Objection Certificate which states that your employer has no objection for you to travel to Denmark and that they have approved your leave request
- Most recent Income Tax Return 2316 (ITR)
- Optional Supporting Documents:
› Government Mandated Contributions – SSS, Pag-ibig, Philhealth Contributions
› If with existing loan – SSS Loan or Pag-ibig Salary loan
- For Self-Employed:
- DTI Business Name Registration Certificate
- Barangay Business Clearance
- Mayor’s Business Permit from your Municipality where the business address has been registered
- Business activity of your company for the last 6 months – invoices and bank transactions
- Most recent Income Tax Return 2316 (ITR)
- For Retirees:
- Pension statement for the last 6 months
- Retirement Certification
- Others (No work, No Business, etc.): Family as Proof of Rootedness:
- For Solo parents:
› A copy of your birth certificate- PSA Authenticated
› A copy of your child/children’s birth certificate- PSA Authenticated
› Solo parent ID
› Barangay Certification as Solo parent
› Notarized Affidavit of Solo Parent with Undertaking
› Money remittances to support your dependents - For those who are supporting or watching over the health/well-being of the family:
› A copy of my parent’s birth certificates- PSA Authenticated
› If parents are already Senior Citizens: a copy of their Senior Citizen ID and Barangay Certification as Senior Citizens
› If parents have sickness/ illness: Medical history of parents (diabetes, hypertension, etc.)
- For Solo parents:
- For Employees:
- Property Titles: if you have some, the following are accepted.
- Land titles
- Car registration certificates
- Deeds of Sale
- For Minors
- Joint affidavit of both parents or legal guardians granting consent
- Photocopies of the passports of both parents or legal guardians
- Birth certificate of the minor. Must be recent, original, and issued by PSA.
- DSWD Clearance, if the minor is not traveling with either parent or legal guardian
- Recent certificate of enrollment from the school
- Letter authorizing the student’s absence from school
- Property Titles: if you have some, the following are accepted.
DOCUMENT CHECKLIST: If you’re visiting family, download the checklist form here. But if you’re visiting friends or relatives, download the checklist form here. Make sure that it is duly filled out and checked (as per the documents that you will be submitting that is applicable to you).
Aside from the same documents under Category A Checklist, below are some additional documents that you need to add or to prepare:
10. VU2 Form or Recommended Invitation from your host in Denmark – we recommend that your host use an online invitation form.VU2 form is the official invitation form that has to be completely filled out and signed by the reference person in Denmark. The VU2 form may be downloaded here.
11. Passport of the family/friend/relative, photocopy. Photocopy the first page that contains the personal information of the reference person. If the reference person is not a citizen in Denmark, submit a photocopy of residence permit too.
12. Evidence of host’s residency in the Schengen area – Copy of passport bio page and if sponsor is not a Nordic Citizen, submit
a copy of residence permit.
13. Proof of relationship
- For relatives: PSA issued Birth Certificates, marriage certificates of applicant and reference person/s.
- For boy/girlfriends, fiancé, friends:
a) PSA issued Certificate of No Marriage (If widow/er, PSA issued Death Certificate of late spouse)
b) Photos together and/or other evidence of relationship with the reference person/s.
14. Original Bank Certificate of the Applicant – Please note that ALL applicants have to provide proof of pocket money in their own name for the duration of the trip, even if their trip is fully sponsored.
Please visit the conditions: https://www.nyidanmark.dk/en-GB/You-want-to-apply/Short-stay-visa/Private-visits-and-tourist-visits
FYI: For a more detailed copy of the checklist under this visa type, please visit this link.
NOTE: If in case you are a Philippine national living or residing in a foreign country and you wish to avail a Schengen tourist visa, kindly inquire with the appropriate Danish Embassy in the country that you’re living/residing in about the requirements and procedures that you need to take (as the process and requirements will not be similar).
Also, the Danish Embassy may request more information or additional documents other than those listed above in order to verify the contents and truthfulness of the documents you’ve submitted.
Step-by-Step Guide on How to Apply for a Schengen Visa to Denmark
If you are currently living in the Philippines and you are a citizen of this country, then you will need to apply for a visa to be able to visit Denmark.
The Embassy of Denmark in Manila processes visa applications, but you will submit your application to VFS Global in Manila or Cebu.
You can apply up to 6 months before you intend to travel to Denmark, but no more than 15 days before. This is because it takes 15 days for a decision to be made. If you apply less than 15 days before, there may not be enough time for your application to be processed.
Step 1: Determine the type of Danish Republic Schengen visa you need to apply for and have a look at the checklist of requirements to gather all the documents that you need to submit.
The first step is to determine which visa type you need, and check whether you’re eligible to apply for it.
You’ll also need to know the documents that you’ll have to submit along with your application, how long the application might take and fees you’ll have to pay.
Each application must comply with the guidelines applicable for your visa category.
If your documents are not in English, you may need to get translations prepared before applying.
If you want to work, seek family reunification, or stay in Denmark longer than 90 days (e.g. for study purposes), you should apply for a residence permit. Please visit NewToDenmark for more information.
Going to Greenland and/or the Faroe Islands?
If you are seeking to obtain a visa to enter Greenland or the Faroe Islands, as well as a Schengen visa, you only need to submit a single application. Visa applications for Greenland and the Faroe Islands are issued by Danish missions. Read more about visa to Greenland and the Faroe Islands here.
You can apply for visa for Greenland and the Faroe Islands on ApplyVisa
Please do the following:
- When filling out the application on this website choose Denmark as your main destination
- When you hand in the application cover letter at the visa application center, please inform the staff about your main destination being Greenland and/or the Faroe Islands
Step 2: Begin your Visa Application. Get started with you visa application.
Once you have identified the visa type please fill the online application form.
- For Short term Visa’s please fill the online application form on ApplyVisa.
- For Residence permit, please fill the online application form on NewToDenmark.
Step 3: Schedule your appointment online with VFS Global
When it comes to the Danish Embassy, they do visa applications via their external service provider, VFS Global. You can just walk into VFS without an appointment — but only from 7:00AM to 9:00AM from Monday to Friday. It’s from 9:00AM to 2:00PM on Mondays to Fridays that booked appointments are accommodated. There are two locations:
VFS Visa Application Center – Manila
Ground Flr., Ecoplaza Building
2305 Don Chino Roces Ave, Extension,
Makati, Metro Manila
VFS Visa Application Center – Cebu
Unit 503, 5th Floor, Keppel Center
Samar Loop cor. Cardinal Rosales Avenue
Cebu Business Park, Cebu City
Once you have filled your visa form, you need to book an appointment to have your fingerprints and photo taken at a Visa Application Centre. This is known as ‘biometric information’ .
Once you’ve booked your appointment, you’ll receive an appointment confirmation email along with the letter of appointment.
Step 4: Pay the Visa Fee.
This must be paid in cash and it helps to prepare the exact amount in Philippine peso only. Once paid, they will give you a payment receipt (that has your application reference number and details) which you should keep. If you lose this receipt, VFS will not release your visa and passport; they will only release it after you give them a notarized affidavit of loss.
- There are 2 things you need to pay for: first, the visa fee here and second, the VFS service fee. As of 2017, VFS service fee is Php585 per application and the visa fee is as follows:
- 12 years old and above = € 80
- 6 to 11 years old = € 40
- 5 years old and below = FREE (but you will still be charged € 80 online upon registration; no worries because this will be refunded once the Danish. Embassy starts processing your application)
- Be advised that payment of these fees is NOT a guarantee that the visa will be granted. It also helps to note that these are non-refundable and non-transferable if your application is denied or if you decide to terminate your application.
- There are 2 things you need to pay for: first, the visa fee here and second, the VFS service fee. As of 2017, VFS service fee is Php585 per application and the visa fee is as follows:
The Danish Embassy still reserves the right to ask you to appear for a personal interview after checking your visa application.
Step 5: Wait for the results of your Danish Schengen Visa application
Once the Danish Embassy is done assessing your application, they will send back your passport and your other original documents to VFS. Consecutively, VFS will send you a text message that you can now pick it all up. Make sure to bring your ID and the payment receipt when claiming your passport and the document detailing the decision on your application.
NOTE: You can check or track the status of your application online via VFS on this page. Please remember that the time for passport collection is from 2:00PM to 4:00PM from Monday to Friday, except weekends and holidays.
Some other things to remember:
- If you cannot come personally to pick up your documents, you may send a representative in your behalf with your authorization letter, photocopy of your ID, payment receipt, and a valid ID with picture of your representative.
- You may also opt to have your documents sent back to you through courier for an extra fee to be settled with VFS upon submission of your application. However, sending passports via courier is at the applicant’s own risk. The Danish Embassy assumes no resposibility for this. (Delivery will be done in 1-3 days within Metro Manila and 2-5 days if the address is in the province. Should the mailing address be outside a serviceable area, you may have to pick up your passport in the nearest courier branch.)
- Naturally, the Danish Embassy will also NOT assume any responsibility if your visa application be rejected. And if it does get rejected, you will be given an information sheet that shows the procedures you can take in order to ask for an appeal.
If you are part of a family or group, you’ll have to book individual appointments for each member of the family or group.
Quick Facts
- Validity of Visa : Short-stay Schengen visas allow people to stay in the Schengen area for up to 90 days every six-month period
- Processing time:Applications shall be decided on within 5 to 10 working days after the date of lodging.
- Where to lodge your application:
-
- VFS Manila
Ground Floor, Eco- Plaza Bldg., 2305 Don Chino Roces Ave. Ext., Makati, Metro Manila
- VFS Manila
-
- VFS Cebu
Unit 503, 5th Floor, Keppel Center, Samar Loop cor. Cardinal Rosales Avenue, Cebu Business Park, Cebu City 6000
- VFS Cebu
- Embassy’s Information:
- Royal Danish Embassy in Manila
- Address: 11/F 11th Corporate Center, 11th Ave, Taguig, 1634 Kalakhang Maynila, Philippines
- Telephone Number: +63 2 8865 8800
General e-mail: mnlamb@um.dk
Consular inquiries: mnlambconsular@um.dk
- Royal Danish Embassy in Manila
Common Reasons for Schengen Visa Rejection
Here are the common reasons a Schengen Visa application gets denied:
- No clear travel purpose—a detailed cover letter is a must!
- Lack of strong ties—reevaluate your application and prove why you must return to your home country!
- Insufficient travel insurance coverage—make sure you get the right policy!
- No proof of financial means—convince them that you can afford your trip! Provide bank or credit card statements, VUL, investment portfolio, etc.
- Passport does not have 2 free pages—where will they attach the visa if your passport pages are already full? You should get a new passport before applying for a visa if there are no more available pages on your old one!
- No proof of accommodation—you need to prove them that you have a place to stay in the Schengen Area.
Recap and Tips
So, just a recap and a reminder, please don’t forget these TIPS:
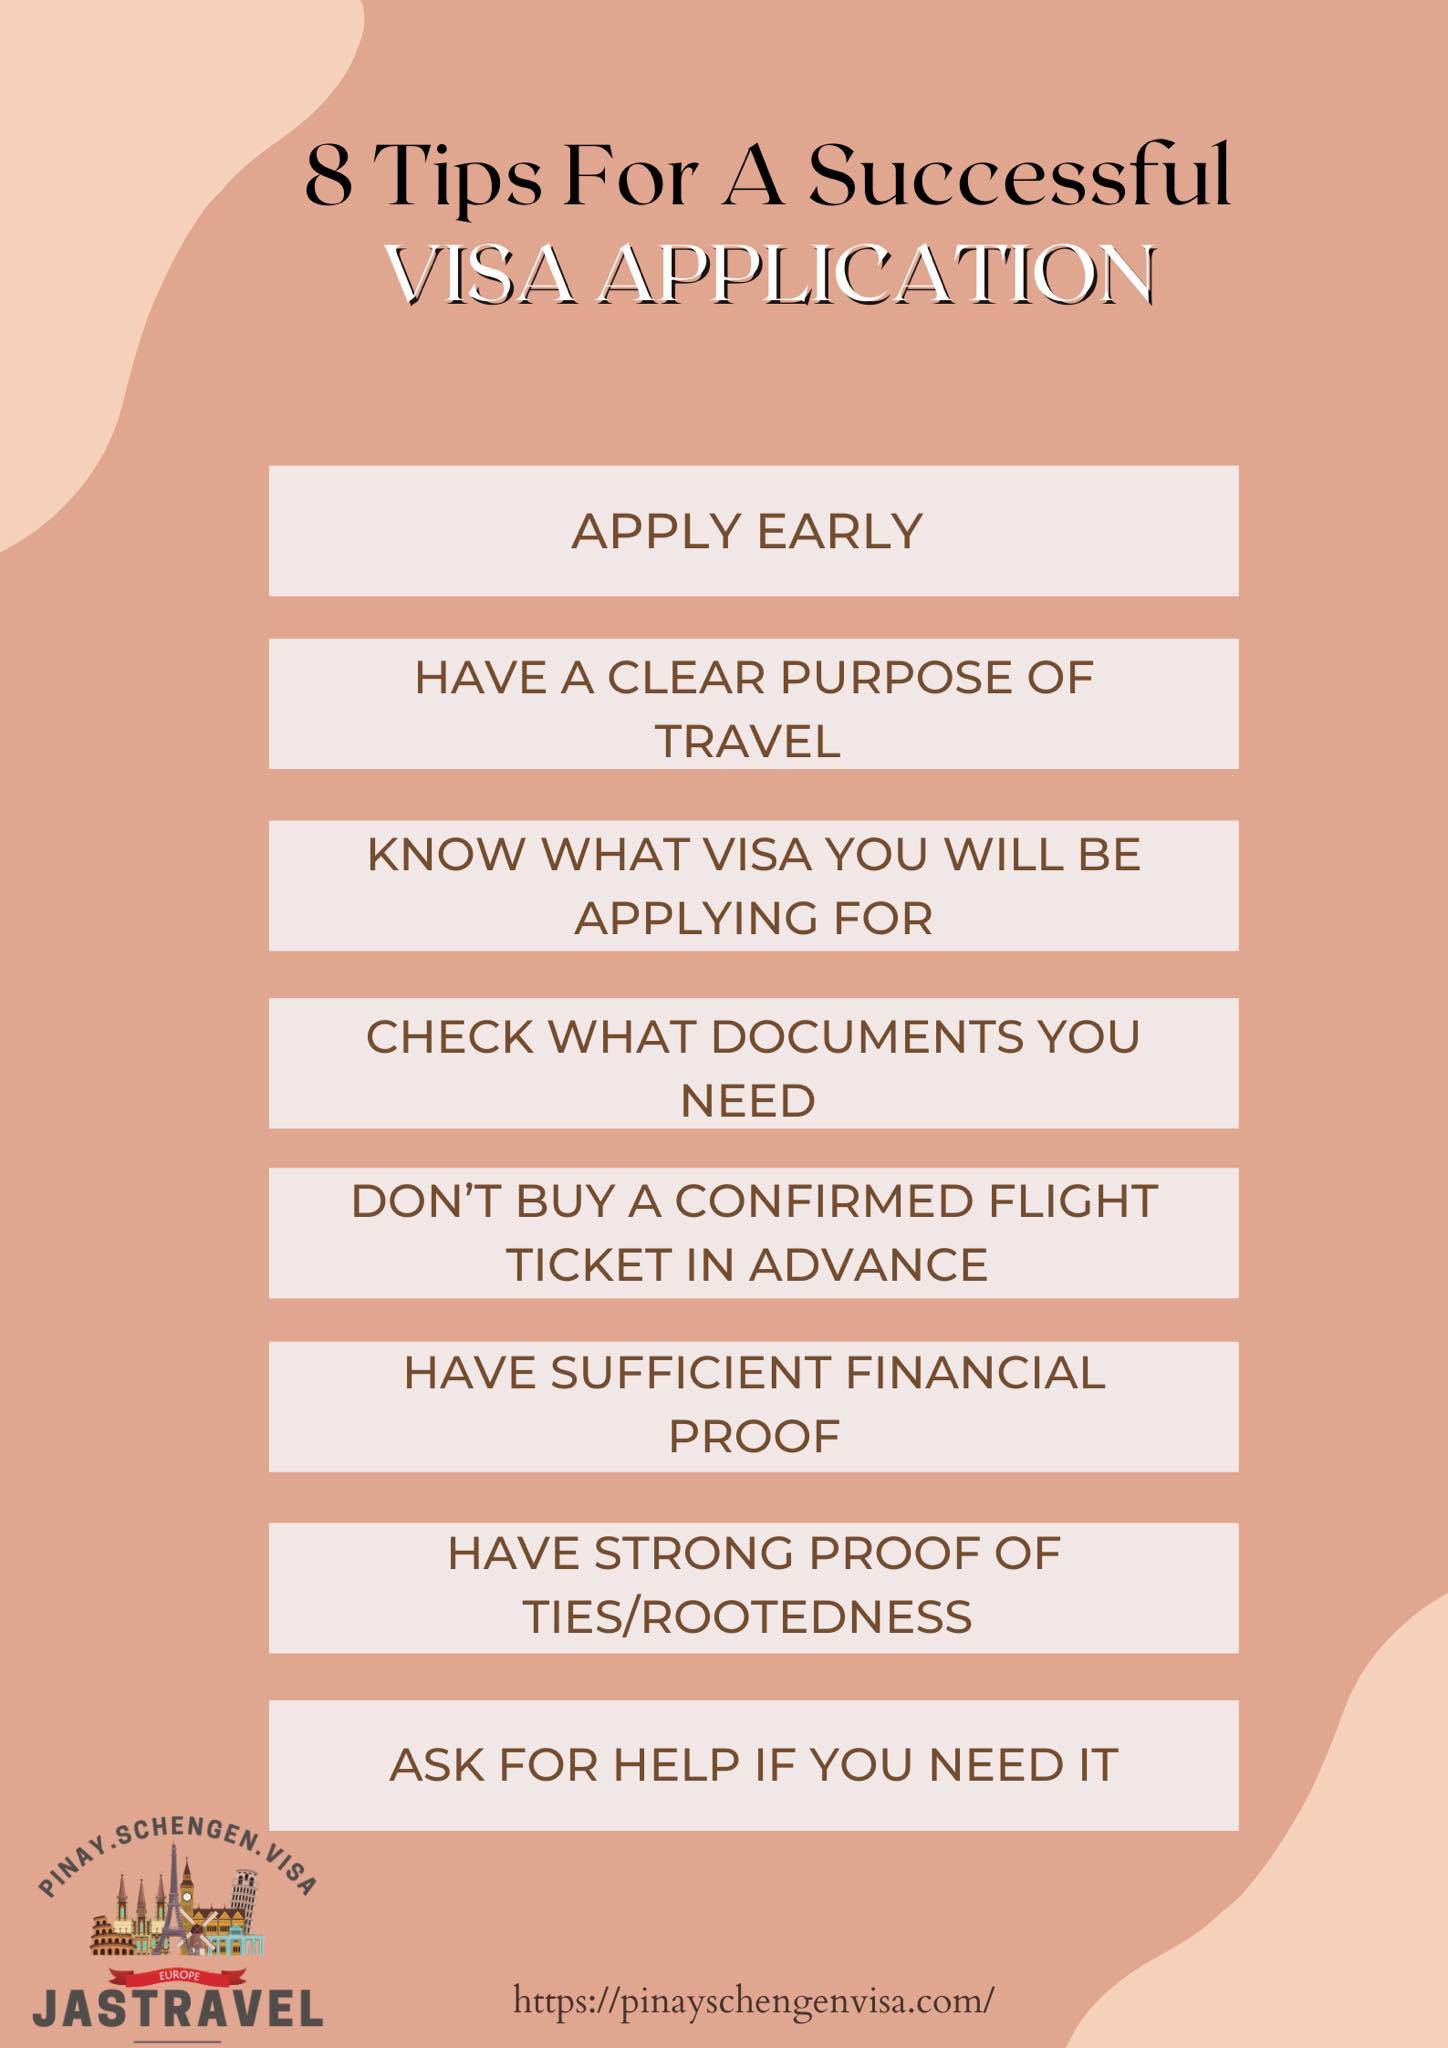
If you ever need help, you can avail my visa application bundle, and I will be glad to help you through the process!
Let Us Be Your Partner in Your Schengen Visa Journey
Applying for a Schengen Visa can be overwhelming, with all the paperwork involved and confusing information from different sources. We understand that—we’ve been there and have done that!
But through the years, we gained experience and knowledge on the ins and outs of the Schengen Visa application. We’ve helped countless satisfied clients; we would like to invite you to be one of them!
With our Schengen Visa services personalized to your unique needs and circumstances, we will make your visa application less stressful and laborious and more promising. Contact us to schedule a consultation or for other inquiries.
